| Your browser is not supported. | ||
|
Please browse our site using any of the following options:
| ||
How To Snowboard: Everything You Need To Know
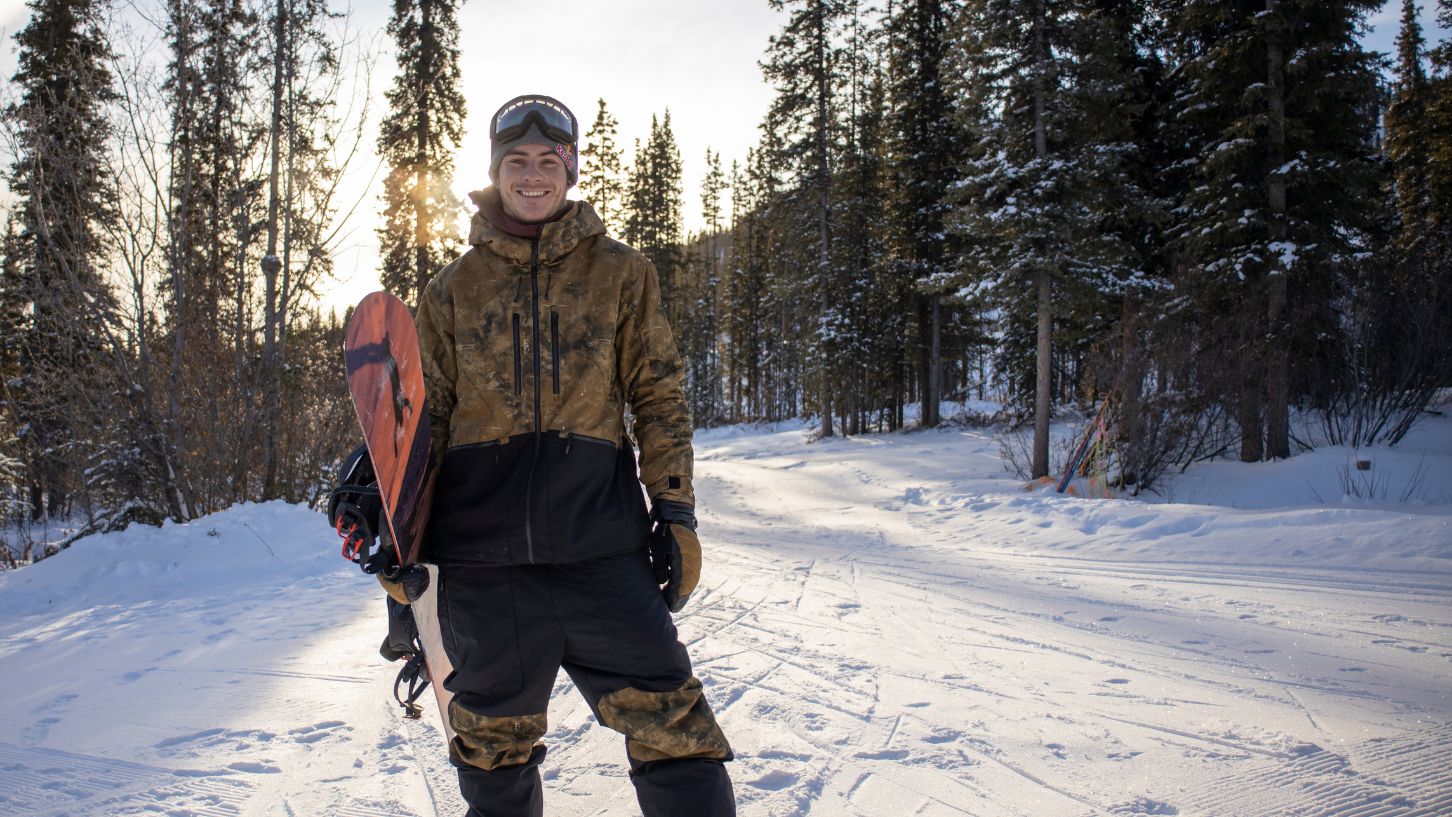
Snowboarding is an incredible thrill for any adventure-seeker. The feeling of fresh powder crunching under your snowboard, the wind rushing by, the adrenaline flowing as you carve your way down the mountain - snowboarding is a unique experience that's the perfect way to get the blood pumping during winter.
But how easy is it to learn snowboarding? Is it easier than skiing? And what exactly is involved before you can strap on a snowboard and start racing down the mountain? If you're new to the exciting sport of snowboarding, then we've created the ultimate guide that will teach you how to snowboard including everything you'll need to know to get you started.
Quick Links:
- Most Commonly Asked Questions
- What Is Snowboarding?
- How To Choose A Snowboard
- How To Have A Proper Snowboard Stance
- How To Skate On A Snowboard
- How To Stop On A Snowboard
- How To Glide When Snowboarding
- How To Turn When Snowboarding
- How To Wax A Snowboard
- How To Dress For Snowboarding
Most Commonly Asked Questions
Is snowboarding harder than skiing?
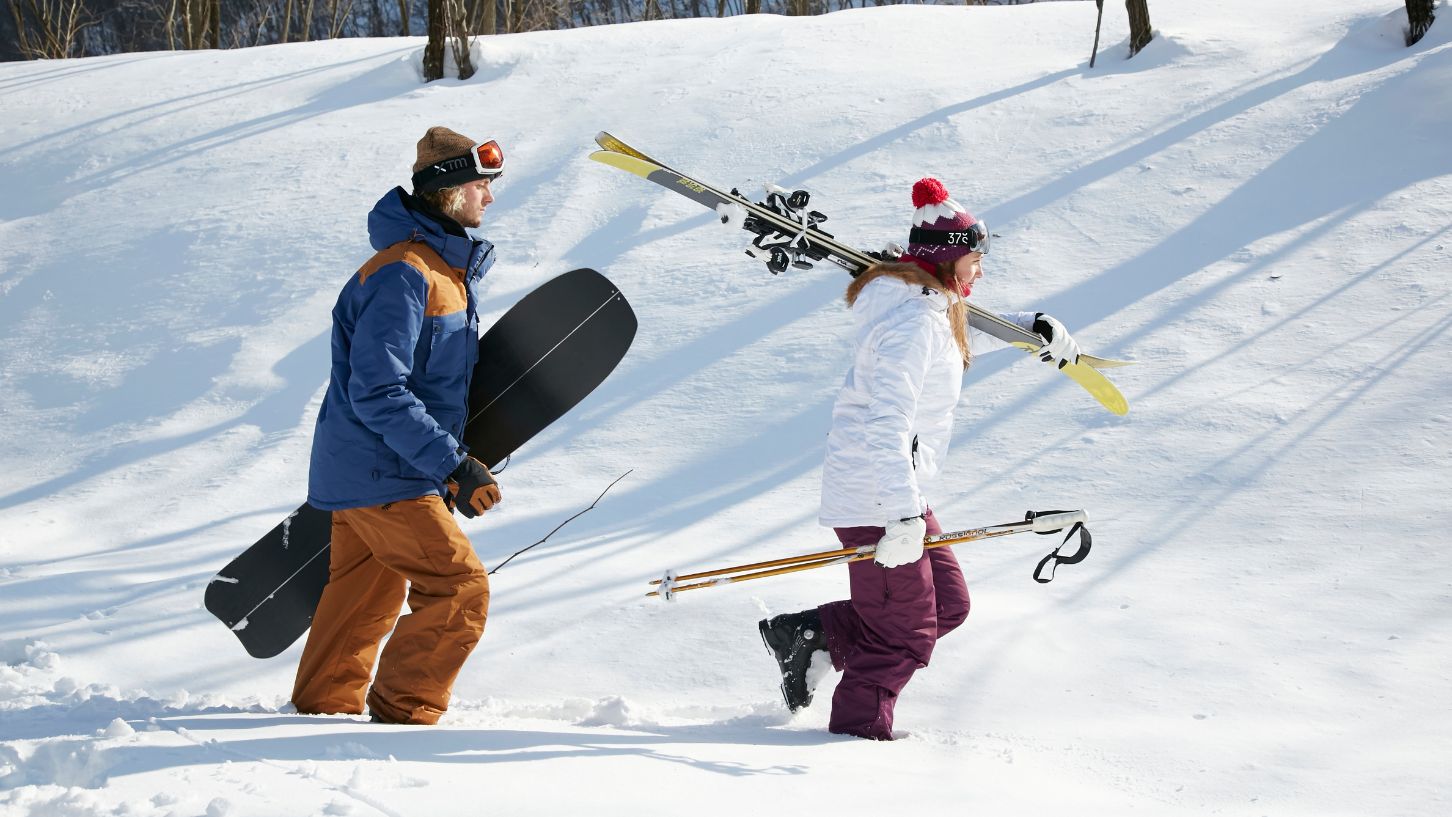
Learning to snowboard is a balancing act. Like any new physical skill, how quickly the movements are learnt will depend on each person. Skiing begins in a standing position so it's commonly said that snowboarding is harder to learn in the initial stages. However, learning to snowboard is extremely rewarding and most people can learn the basics of how to go and stop on the first day with a qualified instructor to show you the ropes.
Is snowboarding hard for beginners?
The cold hard truth is that when you're first learning how to snowboard, you're going to fall over - a lot, especially in the first few hours. Snowboarding has an initial learning curve that requires a lot of patience and concentration to overcome. However, once you have the hang of it, you'll find that you can start to pick up new tricks and head over to more advanced runs.
Can you learn to snowboard in a day?
It is quite possible to learn the basics of how to snowboard in one entire day - but again, it all depends on the person. If you're experienced with surfing or riding a skateboard, then you're going to have an advantage as snowboarding is a lot like skateboarding on a slippery surface. Depending on your experience and fitness level, the average time it takes to get comfortable with your new snowboarding skills is typically around one week.
Can I teach myself to snowboard?
Snowboarding is an extreme sport and can be dangerous. Having a qualified instructor will help you to pick up the skills much faster and will reduce the risk to you and the other people around you on the hill. Factoring a lesson into your trip is also likely to mean you spend less time on the ground and more time enjoying snowboarding!
Do I need a helmet to snowboard?
The simple answer is: yes, you have to wear a helmet when snowboarding in Australia. Any skiing or snowboard racing event requires all competitors to be wearing a FIS-compliant helmet to compete. When it comes to recreational skiing and snowboarding, the ASAA (Australian Ski Areas Association) recommends helmets to be worn by riders, and many ski resorts encourage this rule.
What does goofy stance mean in snowboarding
The difference between a regular and goofy stance, whether snowboarding or skateboarding, is simply determined by which foot you put forward when kicking off and how you face forward. A goofy stance means that you prefer to put your right foot forwards whereas a regular stance means you prefer to put your left foot forwards.
What Is Snowboarding?
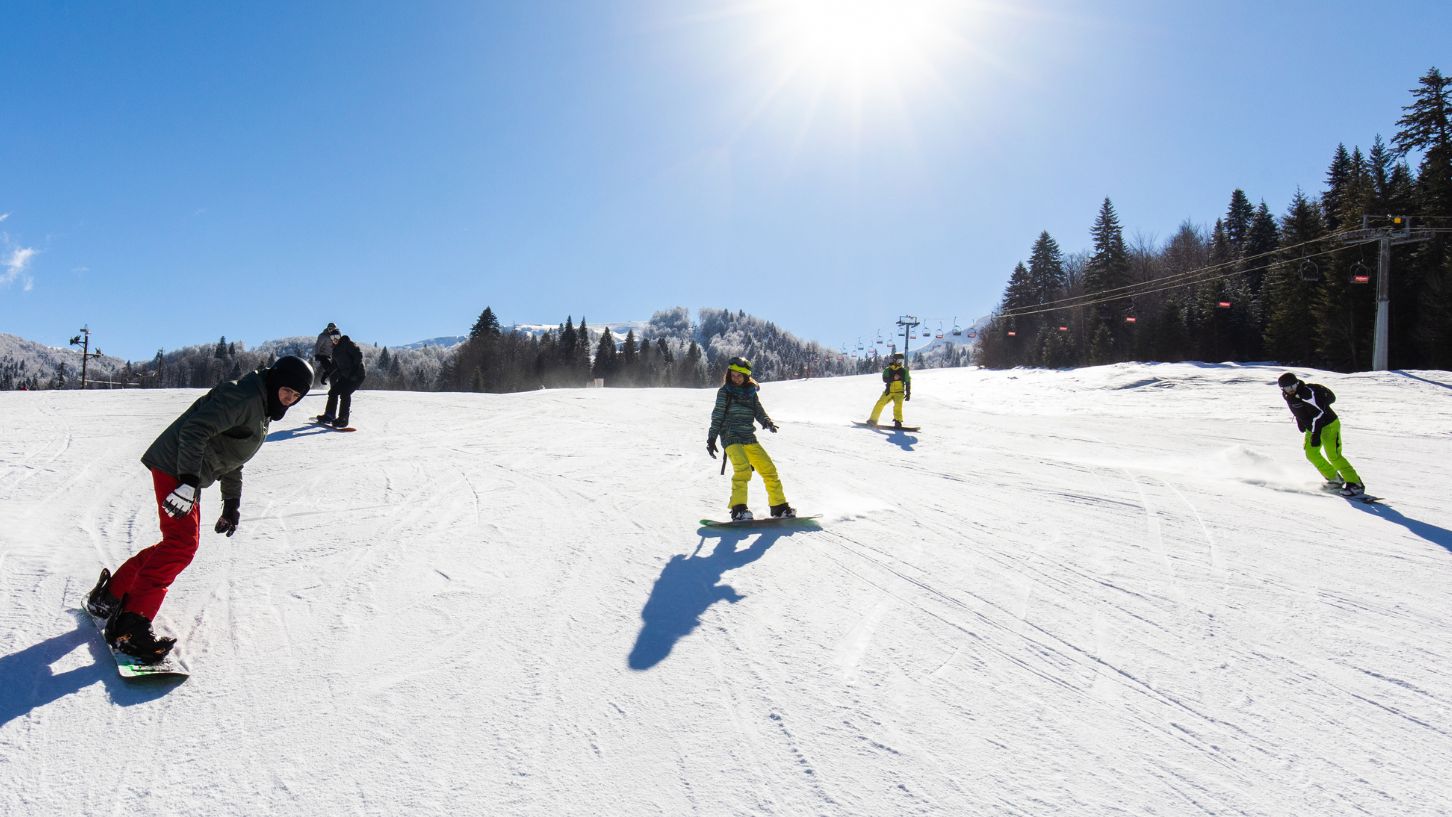
Let's first start with the basics of snowboarding. Snowboarding first came about in 1965 when engineer Sherman Poppen thought it would be a fun idea to strap two skies together and race down a mountain. Little did he know that this would be the start of one of the most exciting and popular snow sports in the world. Since then, snowboarding became an official Winter Olympic Sport in 1998 and has become extremely popular amongst experienced surfers and skateboarders as well as beginners looking for a fun way to spend their winter.
How To Choose A Snowboard
Now before you start learning how to snowboard, you are first going to need to choose your snowboard. When it comes to asking "what size snowboard should I ride?"
For beginner snowboarders, it's best to choose a snowboard that is 1-2 inches below the height of your chin as it'll be the easiest to manoeuvre. Once you feel more confident in your abilities, you can start experimenting with different styles of board to find which one works best for you and your riding style.
The type of board you need depends on what type of riding you want to do. If you prefer freestyle riding, then you'll need a board built for that type of activity, so it will be easier to spin and handle when hitting up terrain parks. If you plan on doing all-mountain, powder or freeriding, there are snowboards crafted for each activity to give you the performance you need when out on the mountain.
How To Have A Proper Snowboard Stance
When first learning how to snowboard, the first thing you should do is nail the proper snowboarding stance. Having a relaxed stance when snowboarding is going to give you much more control and balance when carving through the snow going downhill - and will greatly help you to avoid falling over.
The key factors for a proper snowboarding stance are:
- Bend at your ankles and knees. At first this will put strain on your thighs and calves. It will feel a little awkward, but you will get used to it after a while.
- Make sure that your hips and shoulders are in line with the snowboard.
- Remember to keep your arms nice and relaxed. They should be resting by your side.
How To Skate On A Snowboard
Once you have done up your snowboard boots and strapped your front foot into the snowboard, it's time to learn how to skate, which is how you will be pushing off and propelling yourself along a flat surface. You'll be doing this a lot when getting to the chairlift, so you'll want to nail this step, otherwise you will be falling over a lot. If you're not sure which foot to put forward, try both and see which one feels better.
- To begin skating on a snowboard, you will want to have the foot that you lean forward with strapped into the snowboard, with the foot that you prefer to push off on unstrapped.
- Using your back foot, begin pushing yourself away from the ground in small steps to begin with until you feel comfortable.
- Remember to always keep the nose of the snowboard facing forward, otherwise you will easily trip yourself over if it slides too much to the left or right.
How To Stop On A Snowboard
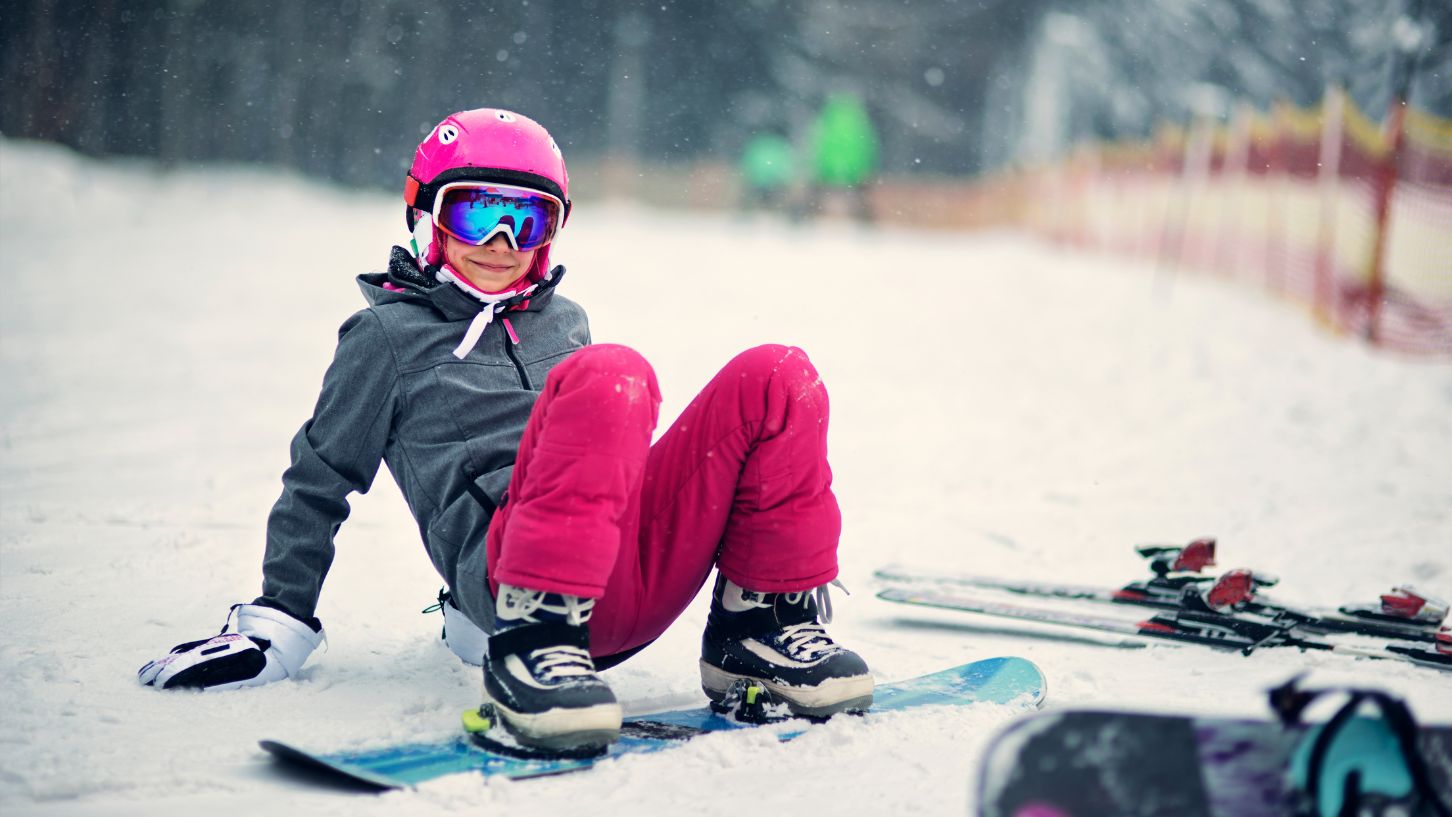
Now for the next important move: how to stop on a snowboard. To stop yourself when skating on a flat surface, place your foot half off the heel side of the snowboard, between the bindings (between where your feet clip in), and dig your heel into the snow to stop.
To stop yourself on a snowboard when going down a mountain, you need to face across the hill. You can do this two ways - heel-side (with your knees facing down the hill) or toe-side(with your knees facing up the hill). An instructor will usually show you both of these methods in the first lesson.
- Heel-side stopping: Start with your board pointing across the hill. Make sure you don't point straight down at the bottom until you've learned to stop. Balance your weight on your heels, bending at your knees and ankles, this will make the metal edge of the snowboard dig into the hill. Standing on your heels, lower your bottom towards the heel edge of the board to stop. Make sure to bend your knees while you pull your toes up towards them. Moving slowly, rise up a little and release your toes gently to inch forward and then practise bending down to stop again.
- Toe-side stopping: Learning to stop on the toe-side also requires using your body weight to dig the metal edge of the board into the hill. With your back facing downhill, look up at the top of the hill. You should be standing on your toes with your hips pushed forwards towards the top of the hill. Once you are comfortable in this position you can very slightly release your heels to move. Look up, keeping your hips balanced over your toes, and push your knees down towards your toes to stop.
This will all come naturally with time, so don't worry if you end up on your backside the first few tries. Getting a lesson to learn the basics is always a good idea.
How To Glide When Snowboarding
While you will skate to get to the chairlift, you will be gliding to get off. The gliding technique is important to master because chairlifts will have a slope of snow for passengers to glide down, and if you fall over, they will have to stop the chairlift until you have cleared from the area.
- Stand up as you would for the skating technique, with your back leg onto the middle of the snowboard. If you have a grip pad, use this to give you more stability. Keep your weight even in both feet and look where you want to go. It may feel fast at the start but stay balanced, the snowboard will come to a stop on the flat surface.
- Practice on a flat surface to get the hang of it first, and then try skating a little bit uphill and then practise gliding gently back onto the flat surface stop.
How To Turn When Snowboarding
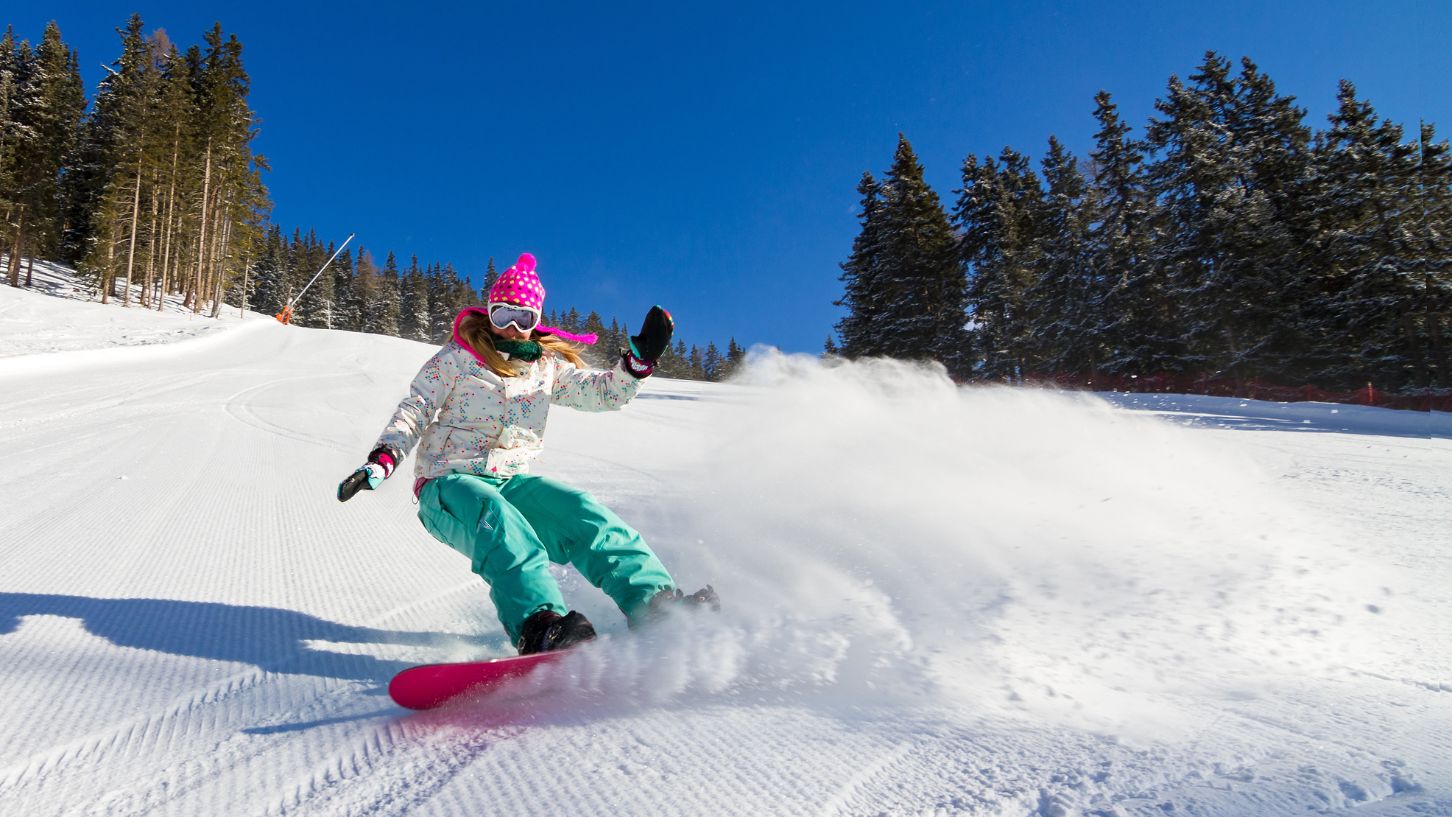
One of the most important skills you will need to master when snowboarding is how to turn correctly, especially when travelling downhill at very high speeds. This move is called the 'J-turn' because you should be making the shape of the letter J when turning correctly. Always make sure you have a safe space around you and look before you go.
How To Do A Heel-Side Turn
- As you get better at stopping on your heels, you can shift your weight to the left or right and look across to travel across the hill. Then shift your weight back to the balanced centre position over your heels and bend down to stop. You should always feel the snowboarding dig in on the heel-side edge.
- At the start you should go side to side, with practice this zig zag movement can be turned into a curve, like a leaf falling off a tree.
- Make the curves bigger, working your way to the shape of a 'J' as you get more comfortable, always aiming to come back to a nice balanced stop across the hill.How to Do A Toe-Side Turn
- Similar to the heel side, move through the same steps, starting with the zig zag but with your weight balanced on your toes as practised in the toes-side stop.
- Remember that on the toe side you want to keep your hips forward over your toes and keep looking up the hill when you come back to a stop
- Take it step by step and only move on when you are comfortable you can come back to stop after every move.
How to Do An S-turn
- Once you have mastered the J-turn on both your heels and toes and can come back to a balanced stop every time, you are ready to link them together into an S-turn
- An instructor will be able to teach you all of these movements, it's highly recommended to get a lesson to safely begin your journey snowboarding and to get the most fun out of your first trip to the snow!
How To Wax A Snowboard
It is important to wax your snowboard to ensure that it will continue to smoothly glide across the snow and will also form a protective layer on the base of your snowboard. As it's a good idea to wax it every three to four days, and to store it covered in wax over summer. Here is how to wax your snowboard:
- Clean the base of the board: you're first going to need to clean the base of your snowboard from any dirt and grime before you can start waxing.
- Melt on the wax: while holding the iron above the board, press the wax to the iron to dribble dots of wax onto the snowboard. Gently press the iron to the board and smoothly push the wax from one end to the other in a continual motion. Ensure there is always wax between the iron and the board. Always move the same direction, move slowly and continually, there should be a trail behind the iron about an inch long of warm melted wax. Keep the iron moving, if you stop on one spot you risk burning the base of your board.
- Scrape the wax: Leave the wax to sit for a while. Once wax has well and truly cooled down and is dry, you can start scraping. This is the messiest part of the process. Holding a scrapper at a 45-degree angle, start scraping the wax from the nose and towards the tail of the snowboard. Remember to scrape in long full lines and make sure the entire snowboard is evenly scraped.
- Brush the snowboard: the last step of how to wax your snowboard is to brush it. Using your structuring brush, firmly brush the board from nose to tail, keeping the brush facing the same direction the whole time. Repeat until the entire base of the board is even and smooth. You can draw an arrow on your brush to ensure the bristles always face the same direction.
How To Dress For Snowboarding
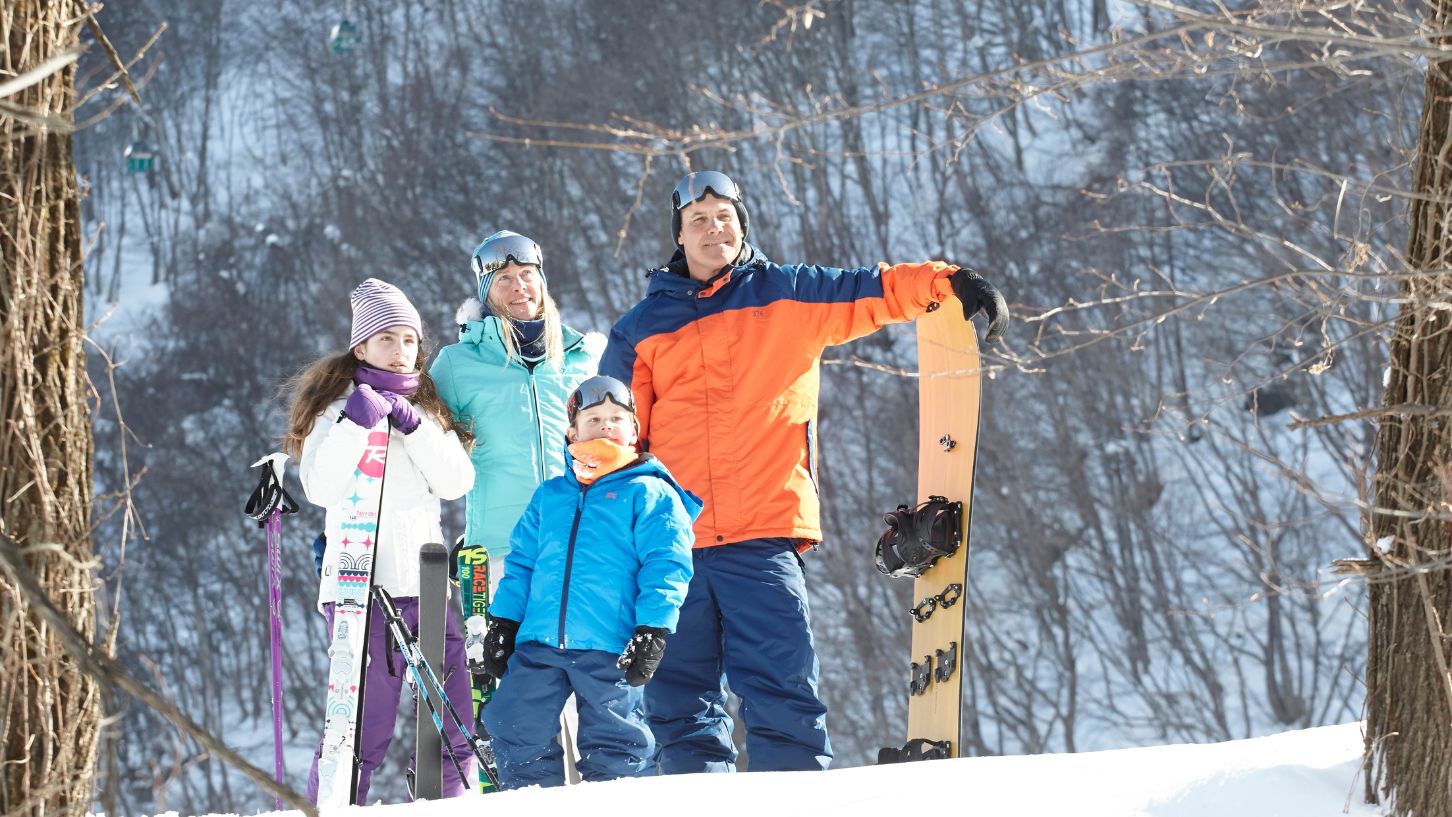
Snow is wet and cold, so you are going to need warm and comfortable clothing that will protect you from moisture, wind and the cold. You'll also need protective snowboarding gear like a helmet to keep you from getting harmed if you take a bad fall. Here's a brief breakdown on how to dress for snowboarding:
Base Layer Clothing For Snowboarding
A base layer of clothing is basically what is touching your skin, and because snow is very cold, you're going to want something warm to start with like a good pair of thermals. Remember to not make the mistake of wearing cotton as a base layer. This is because cotton traps moisture, resulting in your base layer soaking up all moisture and sticking to your skin - not the best thing when out in the cold snow. For more information, check out our guide to mastering the art of layering clothes.
Middle Layer Clothing For Snowboarding
The middle layer of your snowboard clothing will act as insulation. Winter clothing such as pullovers and fleece create friction and are great for generating heat close to your body. A puffer jacket over the top is perfect for holding onto that heat to keep you warm.
Outer Layer Clothing For Snowboarding
As the final layer, women's ski jackets and men's snow jackets are going to keep you warm, cosy and protected from the wind and any moisture from getting inside the shell of the jacket. Then once you have your snow jacket sorted and snow pants, you'll just need some finishing touches with snow apparel such as warm thermal socks, snow boots, beanies, snow gloves, snow goggles and neck warmers.
Now that you know how to snowboard, there is only one thing left to do - hit the slopes! If you're in Victoria, then check out our guide to the best ski resorts in Victoria to see the snow to test out your new snowboarding skills.
Also make sure you have everything you need before hitting the slopes by shopping our entire snow range at Anaconda. And to make sure you don't forget anything, check out our snow gear essentials checklist for more helpful information.